
WordPress Integration Guide
Follow these steps to install and activate the Awatar WordPress plugin
This guide will walk you through the process of installing the Awatar chatbot on your WordPress website. Make sure you have administrator access to your WordPress site and have downloaded the Awatar plugin ZIP file.
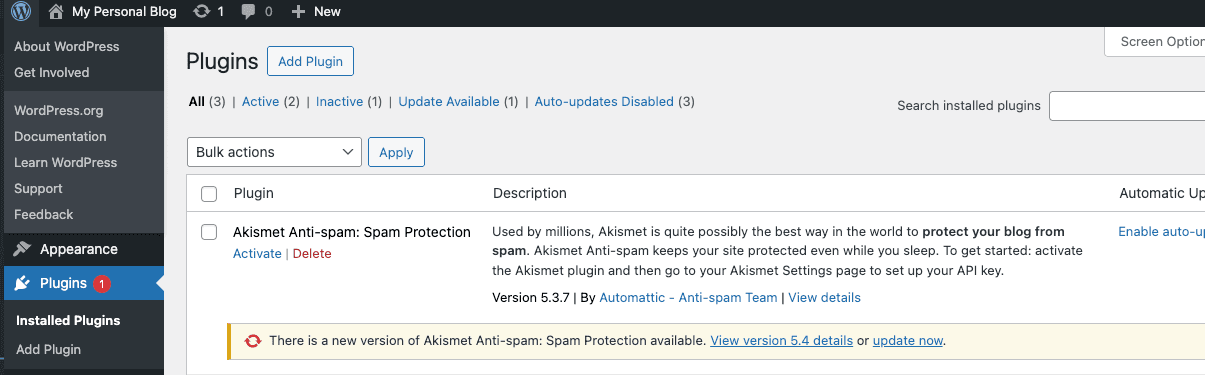
After receiving the plugin ZIP file, log in to your WordPress admin panel and navigate to the Plugins page. Click Add Plugin to go to the Plugin Marketplace.
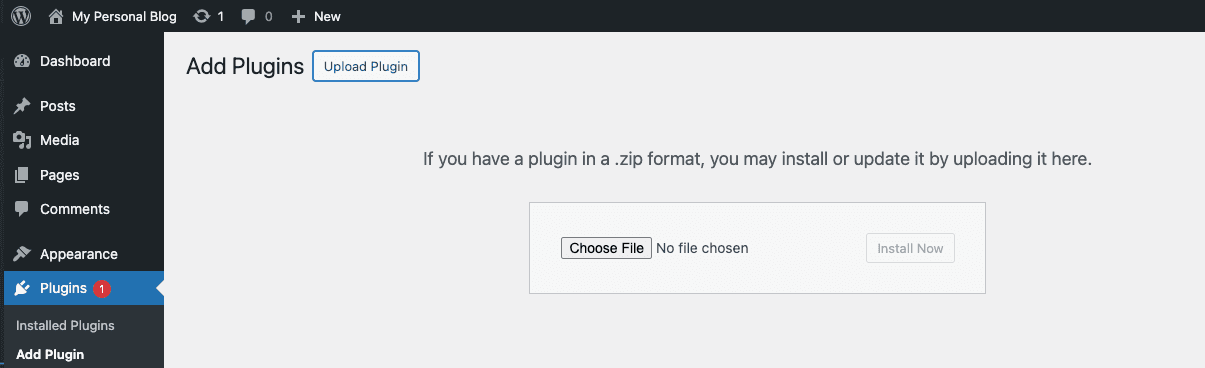
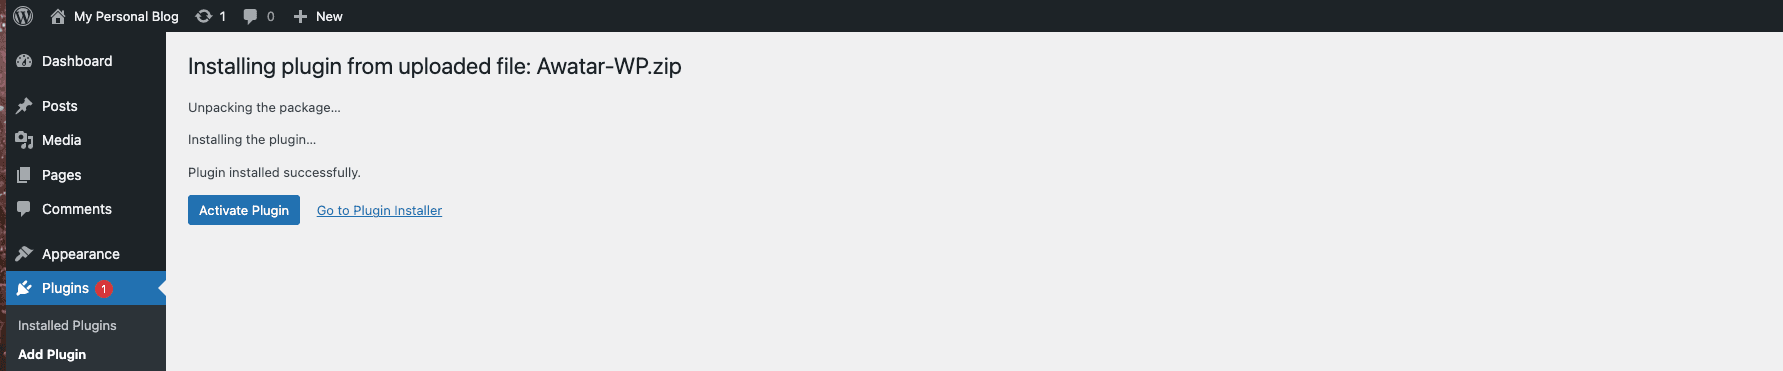
Click the Upload Plugin button at the top. A file upload form will appear. Upload the ZIP file and click Install Now. Once installed, click Activate.
After activation, a new menu item labeled Awatar should appear in your WordPress admin sidebar. If not, check for any errors during installation.
Click the Awatar menu item. You'll be prompted to enter a license key.
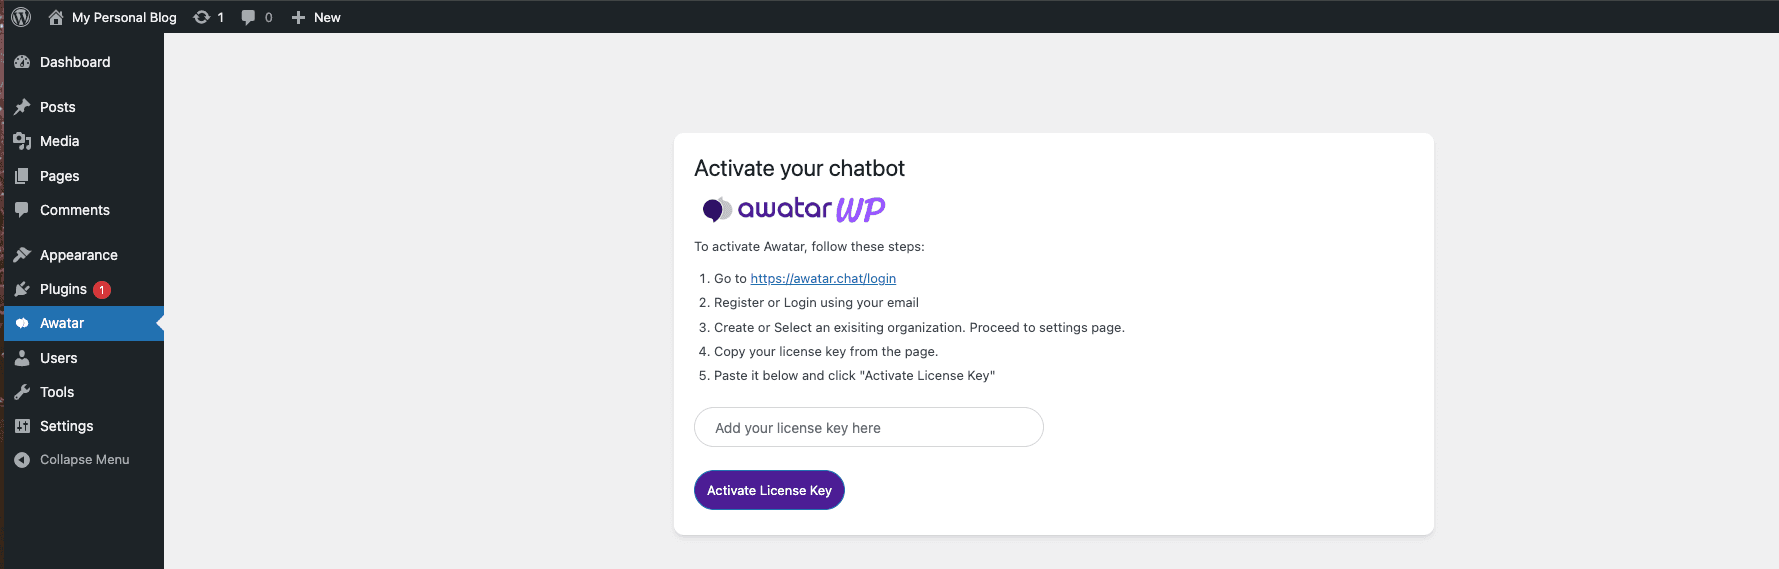
To obtain your license key, follow these steps:
- Go to the Awatar Dashboard.
- Create an account if you're new, or sign in with your existing account.
- Once logged in, create a new organization or select an existing one.
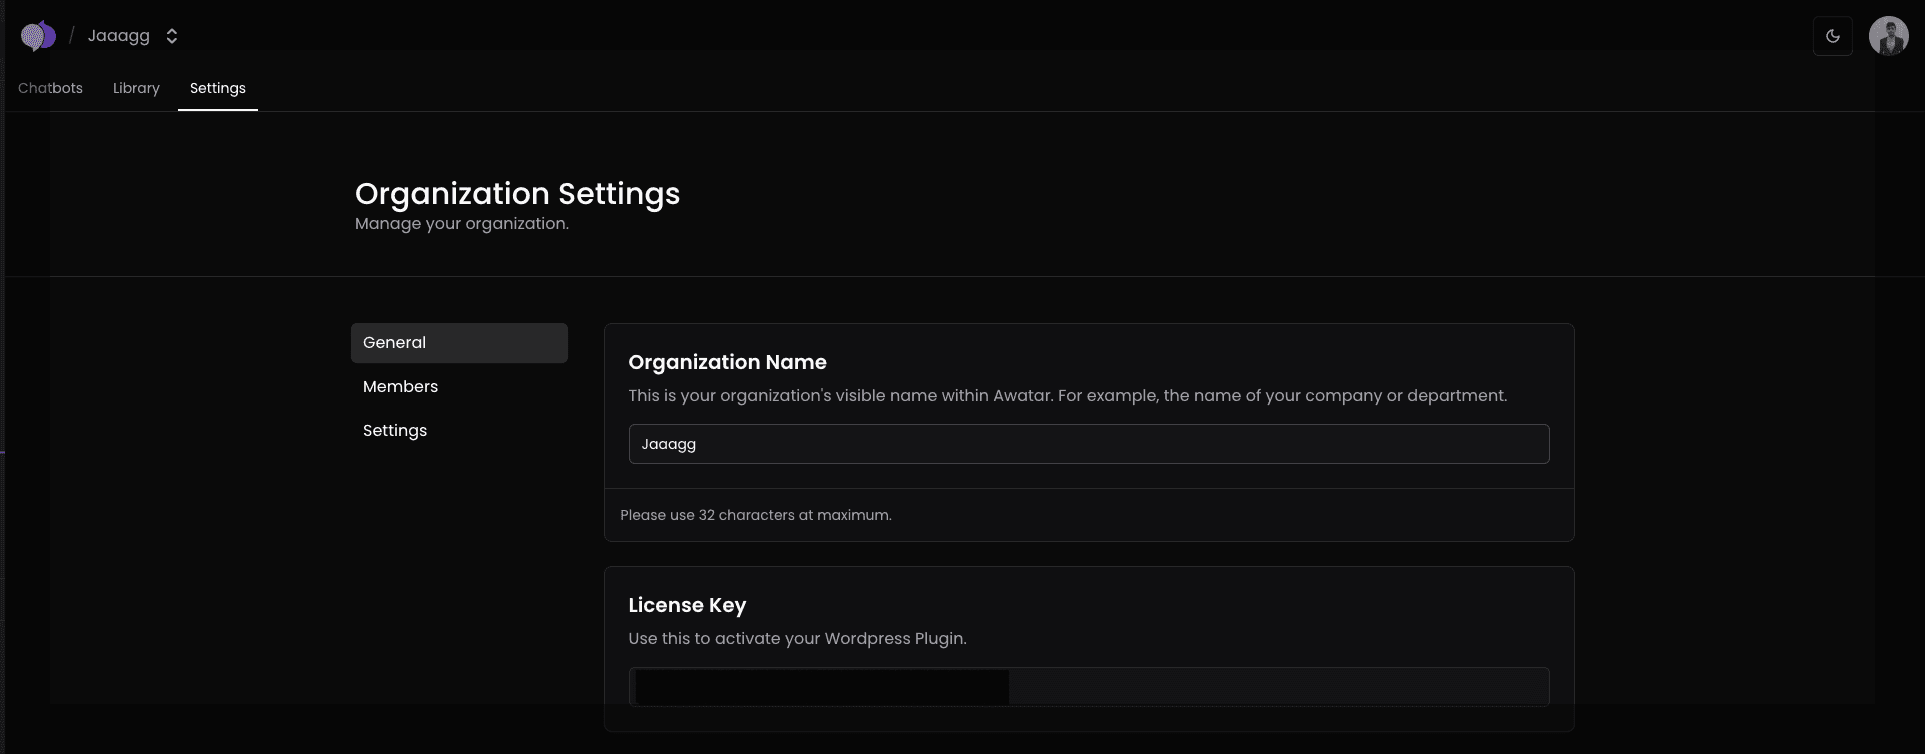
- In the organization dashboard, navigate to the Settings page from the sidebar.
- Copy the license key displayed on that page.
The chatbot may take some time to onboard. If bot protection is enabled on your site (e.g., Cloudflare, security plugins), it may take longer. You can refresh the page to check the progress. Once onboarding is complete, a confirmation message will appear.
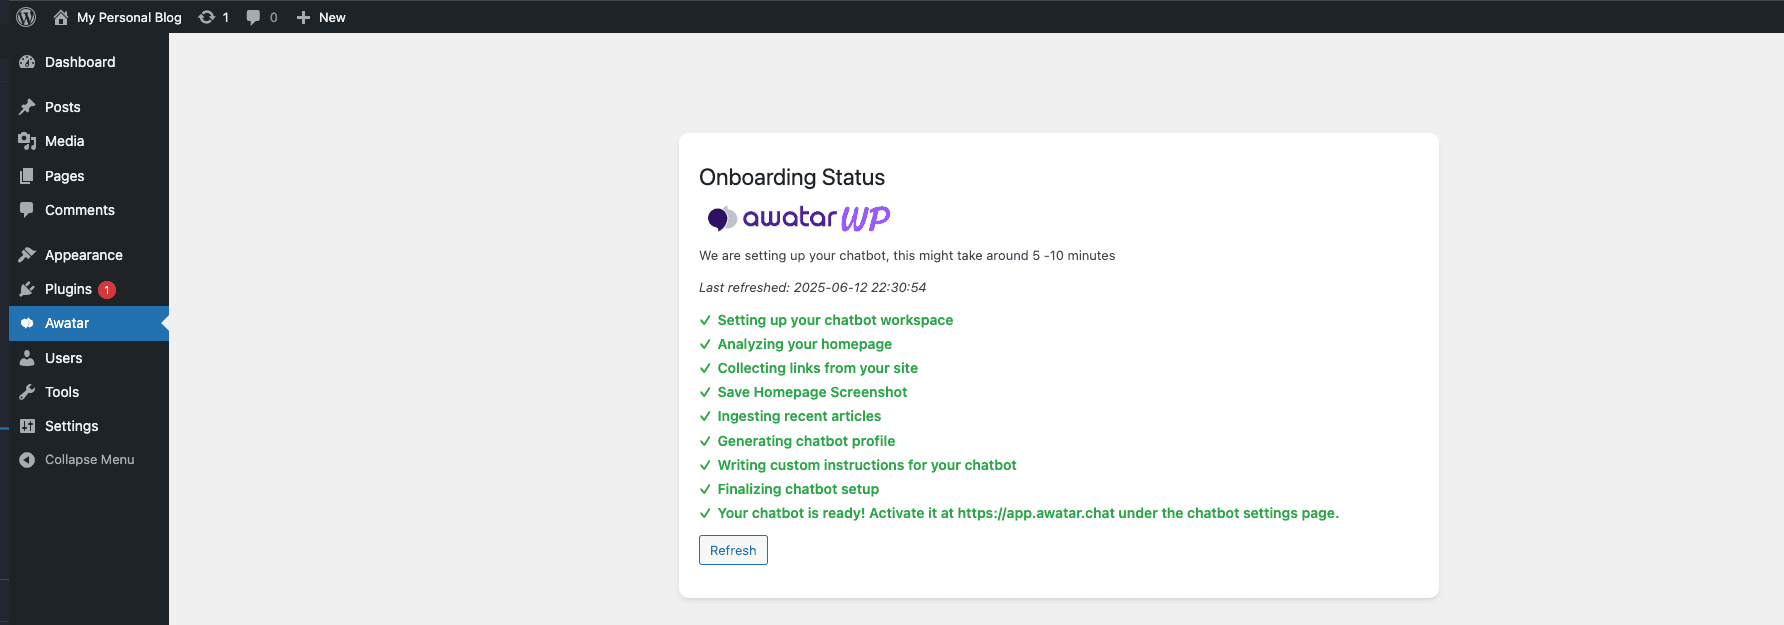
Once the onboarding is complete, an activation button will appear. Click it to finalize the activation process. Your chatbot is now ready to use!

Return to your WordPress site. A chat icon should now appear in the corner of your website. Your chatbot is live and ready to assist your visitors!
However if you are having trouble with the installation, please contact us at hello@awatar.chat
